Contact me

Sunday, January 29, 2012


Make it Monday

Click on link to see a HUGE variety of tutorials!!
Head band holder


There are a lot of versions of this on the internet. Here's mine:

What you need:
Empty oatmeal container-large one
Material
Glue gun and sticks
Marker
Scissors
coordinating colored ribbon

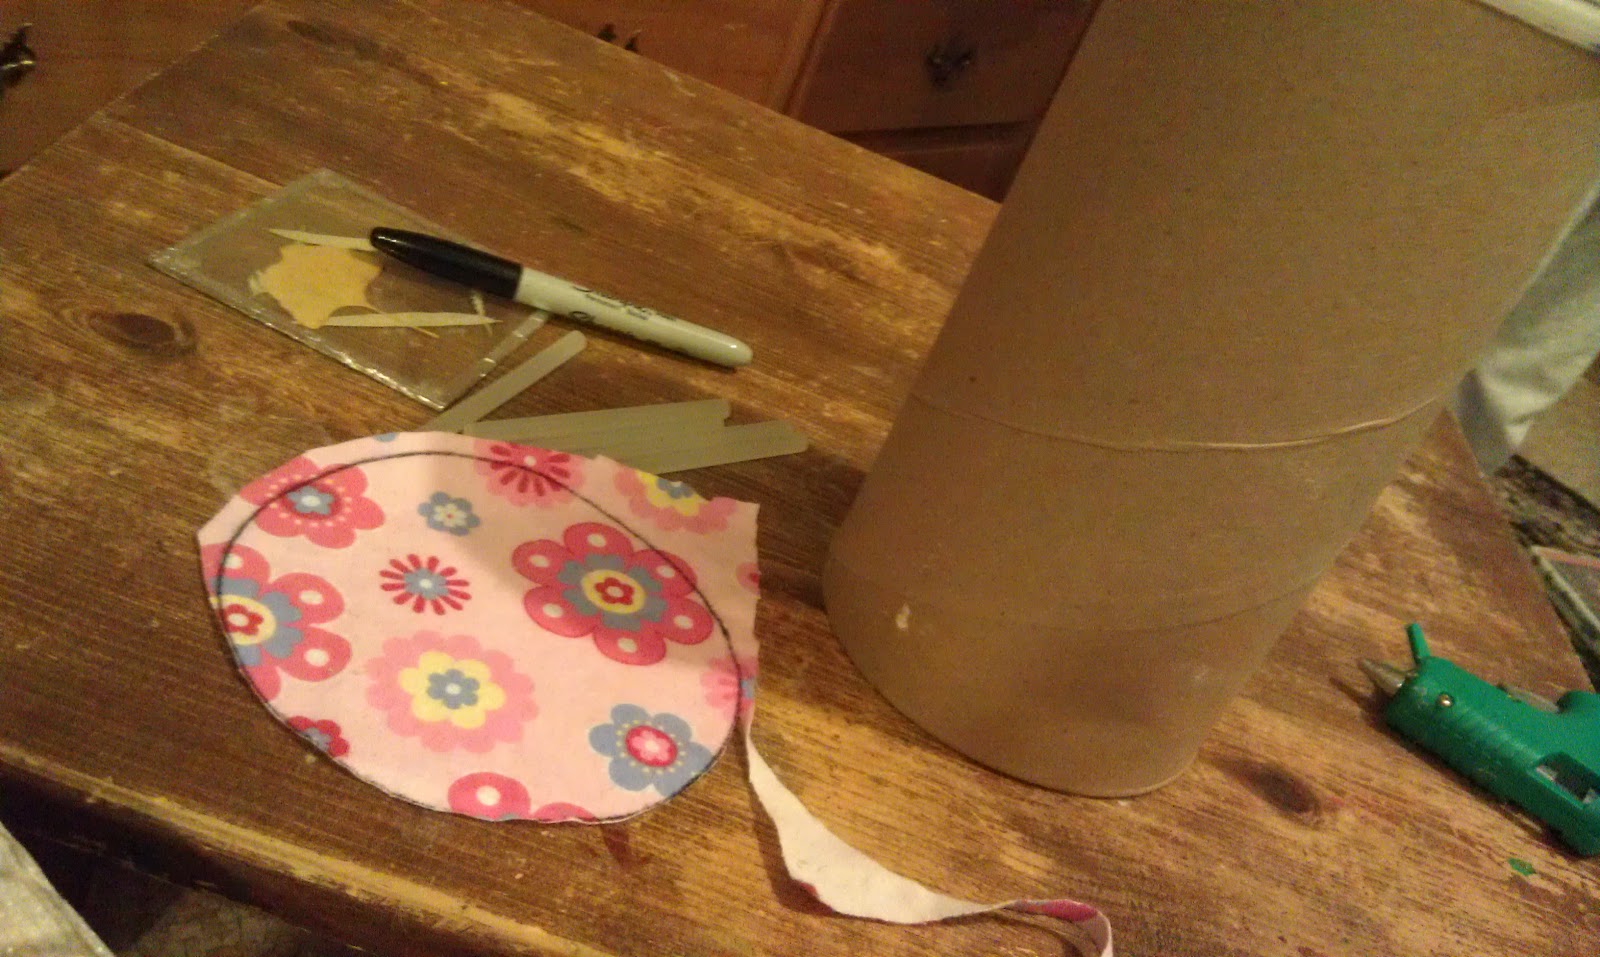
Cut out material to fit on lid


Glue to lid. I also cut out the same flower and glued on top to give some dimension


I didn't take enough pics, but, cut and glue material to outside of oatmeal container.
I didn't glue lid so that the inside could also be used for storage.


I glued purple ribbon around the top and also glued a length down the seam where material met. If you don't glue it down all the way you can use it to clip florals on.


Book Page Wreath

Gather supplies:

Pipe insulation {you get a HUGE length for CHEAP}
Masking tape to tape pipe insulation into a circle
TONS of book pages {i used an old novel but you can use old hymn pages or any other book you have}
Scissors
Hot glue gun and A LOT of glue sticks
A chick flick and laptop


Cut a length of pipe insulation to the size you want your wreath to be. Remember to consider how much the pages will stand off to determine the finished size. I underestimated, and my wreath barely fit my door! 
I hot glued and then taped the insulation it to hold it in a circular shape.

Cover ENTIRE circle w/ book pages {my first one I didn't do this then-as you will see below} I remembered it would be visible from the inside of the front door!
There are many ways you can put the pages on. Browse the internet to see what version you like. I did mine in a cone shape.


Do as many rows as you want until you like the look of it.

The finished product:


When stored properly, the book page wreaths last a very long time. If you live in a humid climate, you may want to cover it with a clear coat spray paint. 


Sunday, January 22, 2012

Valentine's Day printables


Here are few Valentine's day printables.
Feel free to print and share!!!
This one I just printed and framed as a kind of subway art:


 The following I printed on heavier paper, attached to twine and made a bunting. 


Sorry ^^ Not a good picture! :(


Wednesday, January 11, 2012

Fruit bag

I took a plain stretchy tee and turned it into a cute and easy reusable grocery/fruit bag.


First sew the bottom of the tee shut. I used a zig zag stitch for reinforcement!!

Next, cut off sleeves and neck seams.
Lay out tee on a flat surface and cut through both layers. I just cut random V shapes {see below}


And here it is filled w/ fruit and ready to go on vacation w/ us!!

Tuesday, January 10, 2012

No yeast doughnuts


Wanted to try a NO yeast doughnut. I got this one from www.cooks.com 

NO YEAST DOUGHNUTS 
1 c. milk
1 c. sugar
2 1/2 tbsp. butter
1 1/2 tsp. salt
3 eggs, beaten
4 tsp. baking powder
1/4 tsp. cinnamon
confectioners sugar
3 1/2 c. sifted flour
Oil for deep frying

In a bowl combine sugar and butter. Add eggs and blend. Add milk. In another bowl combine flour, baking powder, salt and cinnamon. Add liquid mixture to flour mixture gradually, beating vigorously. Knead lightly on a floured work surface. Add a small amount of flour, if needed to keep dough from sticking.Roll out to 1/4 inch thick rectangle. Use a doughnut cutter to cut dough. Fry in deep hot oil, maintaining a 370°F temperature.
When doughnuts rise to top turn only once. Drain doughnuts on absorbent paper. Sprinkle with confectioners sugar.


Be sure oil is correct temp or they will be under or over cooked


First batch oil was too hot, they got a little dark, but still tasted great
 '

This batch looks much better

DELISH!!!!!!